Get in touch with UD Packaging Company

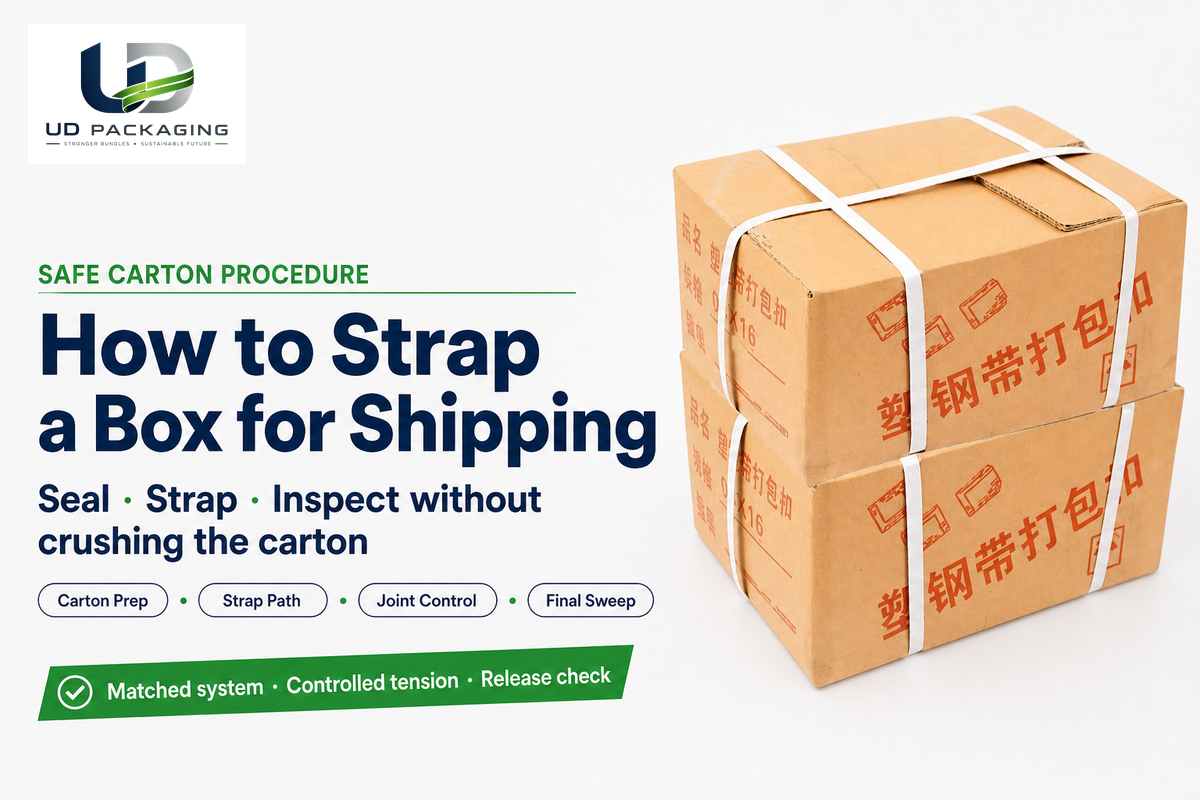
How to strap a box for shipping is a controlled packaging sequence: start with a sound, taped carton. Choose a compatible strap, joint, and tool; protect vulnerable edges; route the band flat; apply only controlled tension; complete the joint; and inspect the package before release.
Updated August 2026 · By XCX
Answer first: Seal the carton, select a matched strap-joint-tool system, add edge protection, route the strap clear of labels, tension while watching the box, make the specified joint, control the cut tail, and inspect before shipping.
Key points
- Strapping supplements a correctly packed and taped box; it does not rescue a wet, torn, bulging, or underspecified carton.
- Tighter is not automatically safer. Excess tension can crush corrugated edges and create a stored-energy hazard.
- One strap, parallel straps and cross-strapping are layout candidates, not a universal safety ranking.
- A visual release check is useful, but it isn’t distribution testing, certification or a carrier guarantee.
What Box Strapping Does—and What It Does Not Do
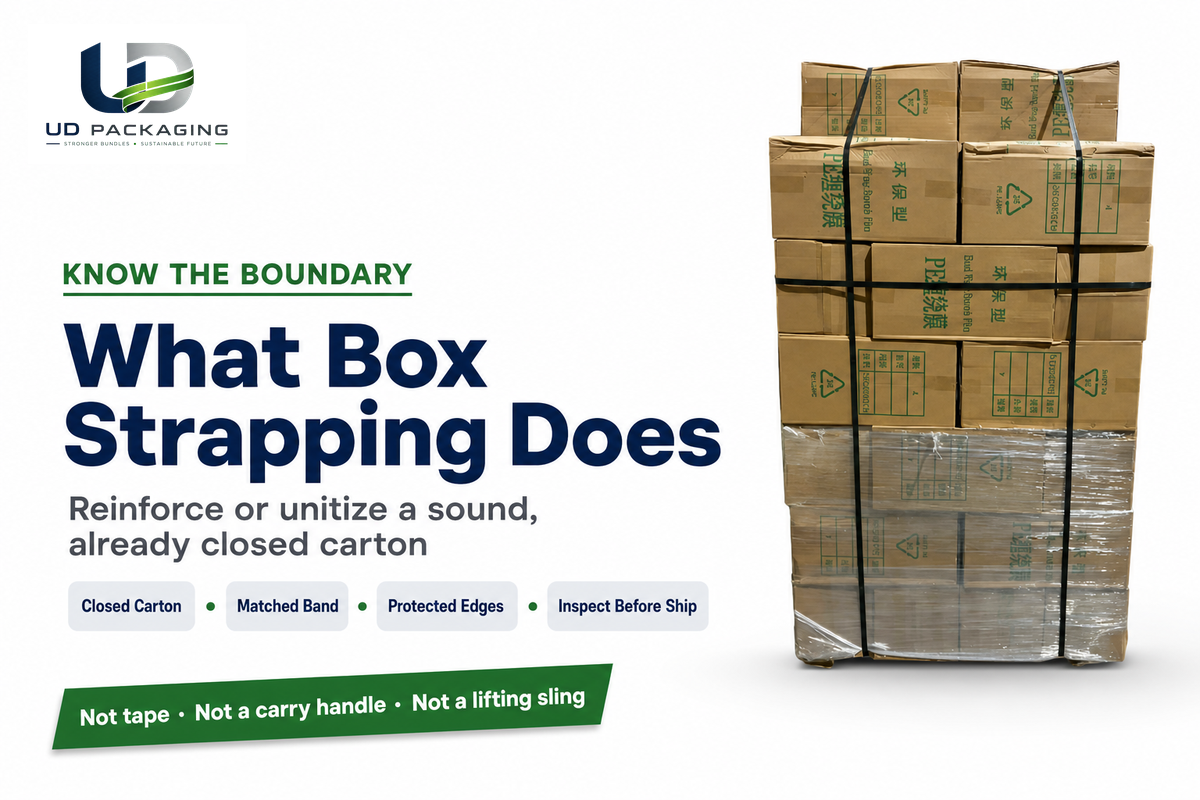
Box strapping places a compatible band around a closed carton to help reinforce or unitize the package during handling and transport. The practical sequence is to prepare and seal the carton, select the complete strapping system, protect the edges, route and tension the band, make the joint and inspect the result.
A strap is not the same thing as box-sealing tape. Tape closes the top and bottom flaps; a strap may add reinforcement or help a package remain unitized. Neither material replaces appropriate cushioning or void fill inside the box. If the contents can move, collide, leak or concentrate load on one panel, correct that condition before reaching for the strapping tensioner.
Never treat ordinary box strapping as a lifting sling or carry handle. The ASTM D3950-23 nonmetallic-strapping specification defines shipment uses rather than lifting approval. Pulling on a strap can expose the joint and carton to loads the package was never designed to accept. Carrier acceptance remains route-specific.
Working boundary: This guide covers ordinary, non-regulated corrugated parcels. Hazardous-material and tested-design packages must follow the exact manufacturer closure instructions and governing requirements for the approved configuration.
Before You Strap: Check the Carton, Contents, and Shipping Route
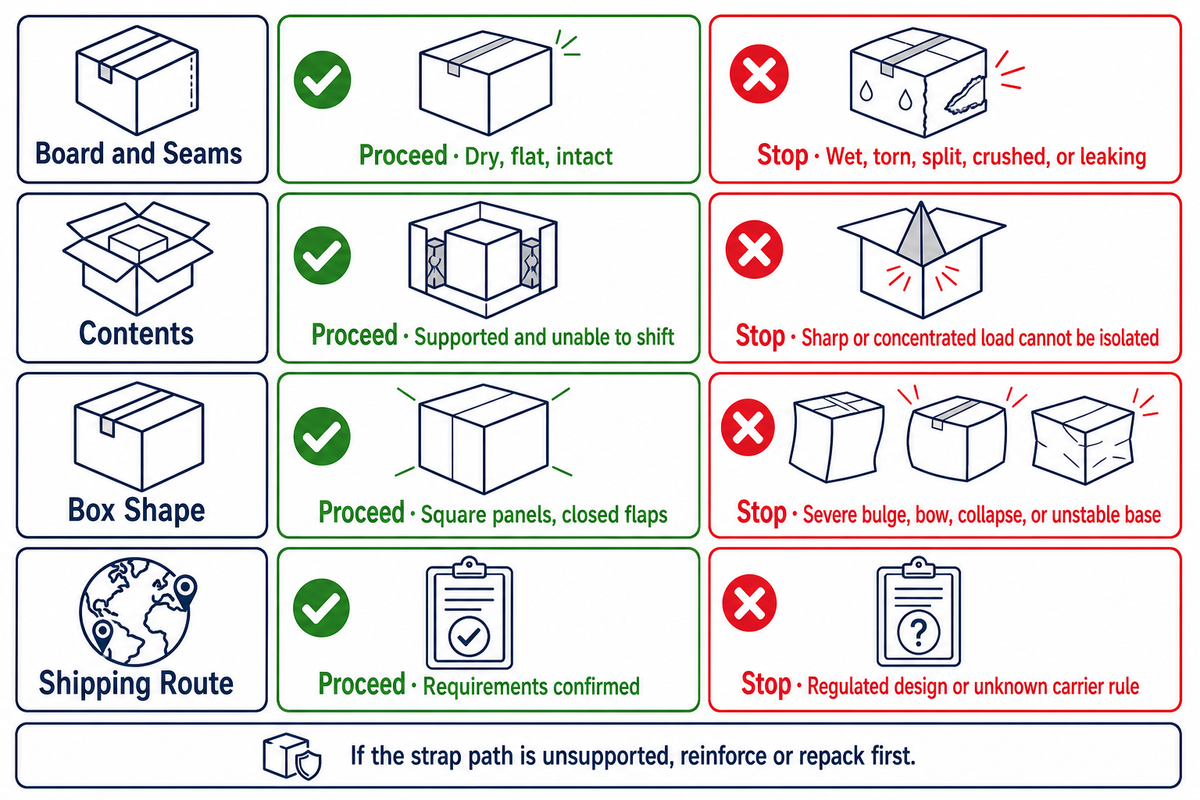
Inspect the carton before adding band tension. The board should be dry and structurally sound, the flaps and seams intact, the contents cushioned against movement and the top and bottom closed for the selected route. Reinforce or repack any box that cannot support the proposed strap path.
| Check | Proceed | Reinforce | Stop and repack |
|---|---|---|---|
| Board and seams | Dry, flat, intact | Minor local weakness with an approved repair | Wet, torn, split, crushed, or leaking |
| Contents | Supported and unable to shift | Needs more cushion or void fill | Sharp or concentrated load cannot be isolated |
| Box shape | Square panels, closed flaps | Small void or edge vulnerability can be corrected | Severe bulge, bow, collapse, or unstable base |
| Route | Requirements confirmed | Label or strap path can be repositioned | Regulated/tested design or unknown carrier rule |
A useful packing brief should name the shipping supplies already in use: the corrugated cardboard grade, whether the contents are rigid or soft, any bag, bubble cushioning or foam, the carton dimensions in inches, and the shipping label and delivery scan plane. A tape dispenser, hook, or windlass is not a substitute for a matched strapping tool. Terms such as heavy-duty and durable are labels, not evidence; metal buckles still need a documented match to the strap, and any carrier guideline controls only within its stated scope. This procedure does not cover passenger baggage.
Seal the bottom and top before adding a band. Keep addresses, barcodes, required markings and handling labels on flat, readable planes. For a United States Postal Service route, current Domestic Mail Manual rules say banding used for closure and reinforcement must encircle length and girth at least once; loose and metal strapping aren’t acceptable. Do not transfer that wording to another carrier.
If the shipment is hazardous, regulated or built to a tested package design, stop using this general procedure. The United States Pipeline and Hazardous Materials Safety Administration explains that tested hazardous-material packaging must use consistent, repeatable closure instructions that reproduce the successfully tested design. An improvised extra strap is not automatically an approved change.
Choose the Strap, Joint, and Tool as One System
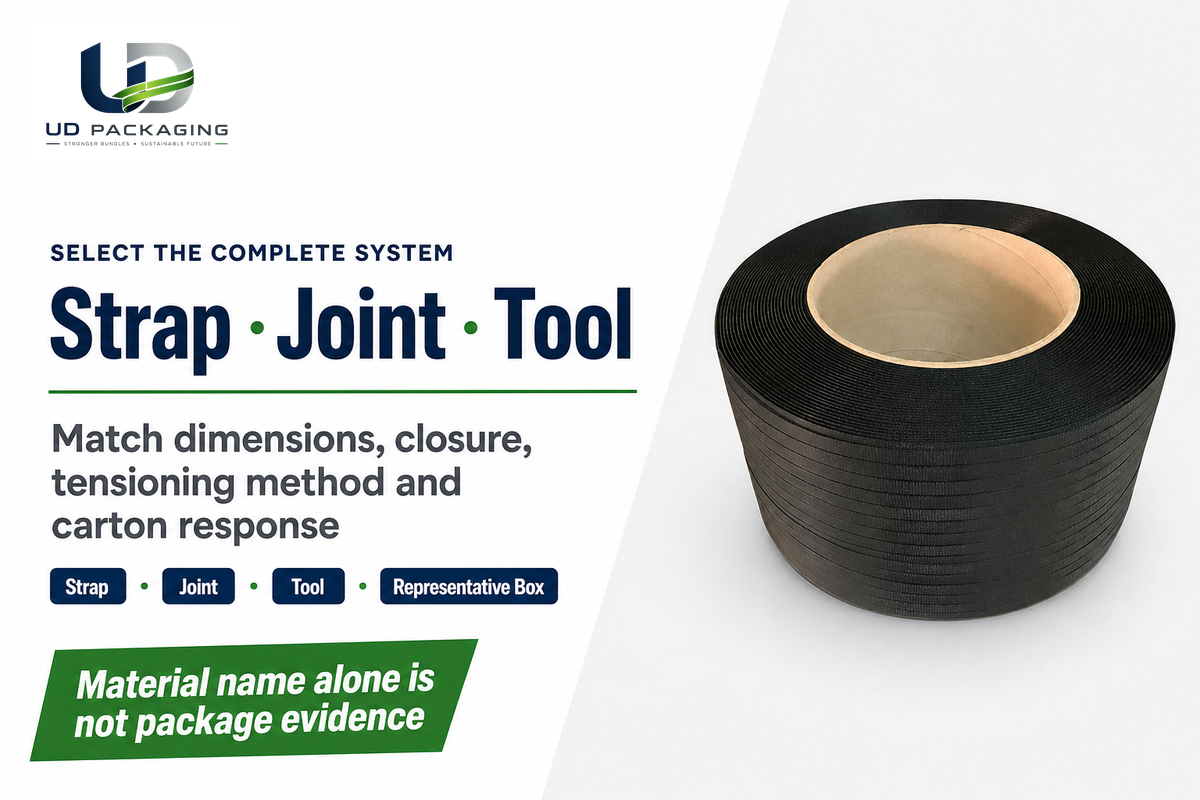
Select the strap, joint, and application tool together. Material name or nominal break strength alone cannot describe the finished package. Strap dimensions, elongation, retained tension, joint formation, applied tension, carton response, edge protection, environment, and representative-package evidence all affect the usable result.
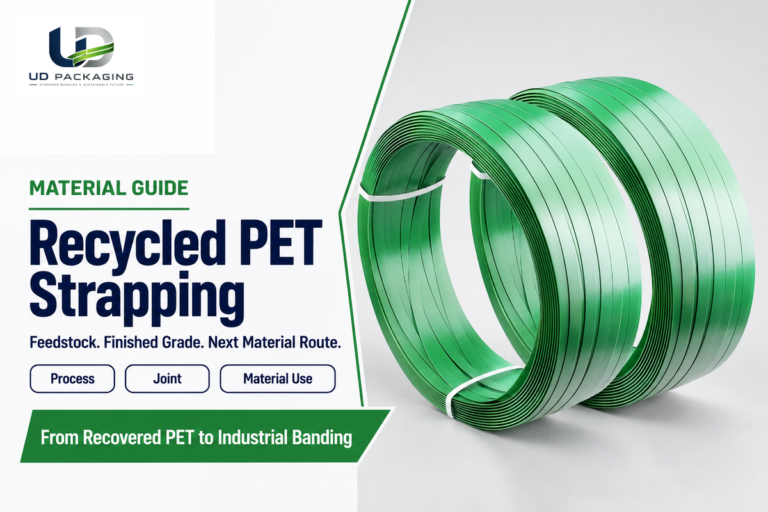
Polypropylene strapping can suit many light or moderate parcel tasks, while PET is often considered where retained tension is more important. Those are selection directions, not approvals. Confirm the roll, dimensions, joint, tool setting, carton, contents, and route as one configuration. UD Packaging offers plastic strapping for boxes and application support.
| System type | Record | Reject signal | Next evidence |
|---|---|---|---|
| Carton | Style, board, size, condition | Weak, wet, torn, bulging | Carton specification and inspection |
| Contents | Mass, shape, movement, fragility | Uncontrolled shift or point load | Cushion and void-fill trial |
| Tape closure | Tape and seam method | Open or weak seam | Route closure rule |
| Strap | Material, dimensions, roll identity | Mismatch, damage, contamination | Supplier data and incoming check |
| Edge protection | Location, support, retention | Migration or new sharp point | Tensioning observation |
| Joint | Buckle, seal, friction, or heat | Slip, incomplete formation | Joint instruction and verification |
| Tool | Manual or powered model and setting | Cannot control tension or joint | Tool inspection and trial |
| Placement | Axis, count, spacing, label clearance | Crush, slide, or scan conflict | Representative package check |
| Route | Carrier, product, regulatory rule | Unknown or conflicting requirement | Current governing instruction |
ASTM D3950-23 covers nonmetallic strapping and joining methods and treats properties such as breaking strength, elongation, transverse strength, and joint strength separately. ASTM D4675-14a(2022) is an active selection-and-use guide, but its own scope describes it as a starting point for testing rather than a package-specific instruction. This is why strap break strength cannot be presented as finished-package capacity.
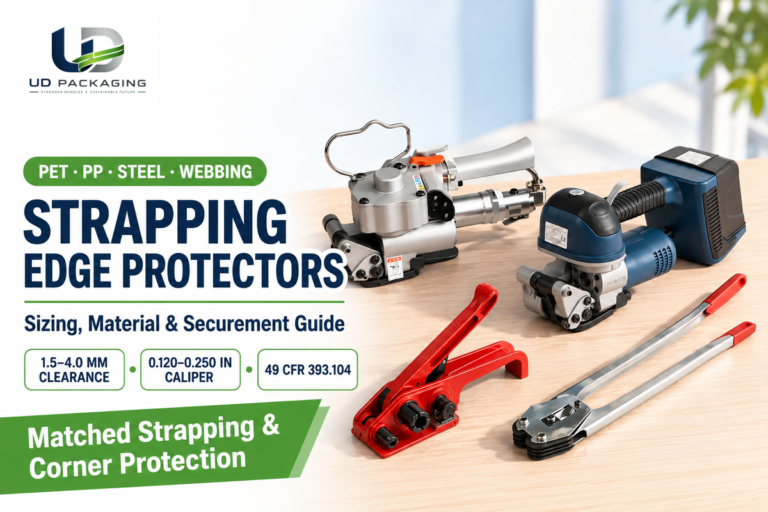
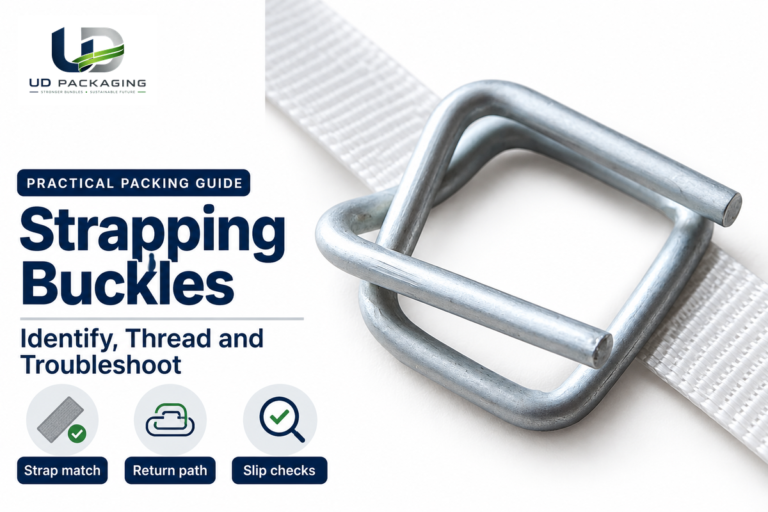
Use the detailed product routes only after the system boundary is clear: compare PET strapping, review compatible strapping tools, and match the closure to the specified strapping buckles or strapping seals. A generic clip diagram must never override the exact closure instructions.
How to Strap a Box for Shipping in 8 Steps
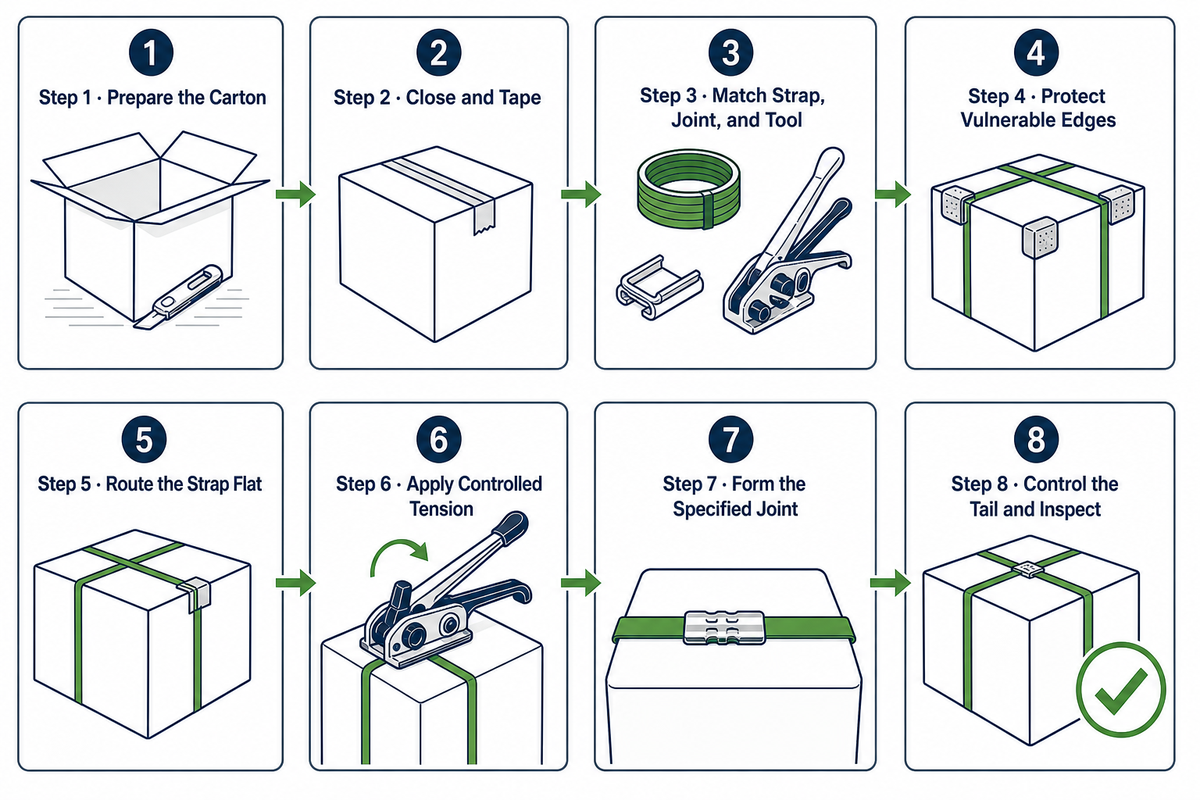
Use the Seal-Strap-Ship Sequence: prepare the package, seal it, match the strapping system, protect edges, route the band, apply controlled tension, form the specified joint, then finish and inspect. These steps apply only to ordinary non-regulated corrugated parcels that have passed the pre-strap check.
- Select a sound carton and stabilize the contents. Choose a box that fits the load and route. Cushion fragile surfaces, fill voids, isolate sharp edges, and prevent the contents from shifting. If the package cannot maintain its shape without the strap, replace or redesign the carton.
- Close and tape the carton. Seal the bottom and top with the tape method required for the box and route. Remove obsolete labels and keep the new address and barcode area clear. Strapping is added after closure; it is not a shortcut around it.
- Match strap, joint, and tool. Confirm material, width, thickness, closure, and tool compatibility. Inspect the roll and tool. Do not combine a buckle, seal, or powered joint with strap dimensions outside its documented range.
- Protect vulnerable edges. Add edge protectors where a band could cut, dent, or crush corrugated board. The protector must remain seated during tensioning and must not create a sharp point or cover required markings.
- Route the strap flat. Pass the band around the intended box axis without twists. Keep it away from unsupported edges, handles, perforations, weak seams, addresses, and barcode scan planes. Confirm the strap will not slide into a corner after handling.
- Apply controlled tension. Use the matched manual tensioner or powered tool while watching the corners and panels. Stop if the flute crushes, an edge indents, the panel bows, the protector moves, or the contents react. Do not chase a universal tension number.
- Form the specified joint. Thread the buckle or form the seal, friction weld, or heat joint exactly as the system instructions require. Keep the strap aligned through the joint and verify complete formation. Never improvise a knot or substitute closure.
- Control the tail and inspect. Use the specified cutter or tool; control or trim the tail; and remove potentially injurious projections and perform the Four-Point Carton Release Sweep. Only apply the final label to locations that would remain readily visible and scannable.
| Step | Release evidence | Stop and correct |
|---|---|---|
| 1. Carton | Sound board and stable contents | Replace weak board or repack shifting contents |
| 2. Closure | Top and bottom seams closed for the route | Correct the tape closure before banding |
| 3. System | Strap, joint, and tool are compatible | Resolve any undocumented combination |
| 4. Edges | Protectors stay seated where needed | Reposition protection that migrates or creates a point load |
| 5. Path | Band is flat, stable, and clear of scan planes | Reroute twists, weak-edge contact, or label conflicts |
| 6. Tension | Carton holds shape without new damage | Stop on crush, bow, movement, or protector shift |
| 7. Joint | Specified joint is fully formed and aligned | Rework slip, deformation, or incomplete formation |
| 8. Finish | Tail controlled and final screen complete | Remove sharp projections and correct any failed check |
Stored-energy warning: Tensioned strapping can recoil when it breaks or is cut. Keep hands, face, and body outside the recoil path; follow the matched tool, protective-equipment, cutting, and disposal instructions; and control both cut ends during removal.
How Tight Should Box Strapping Be?
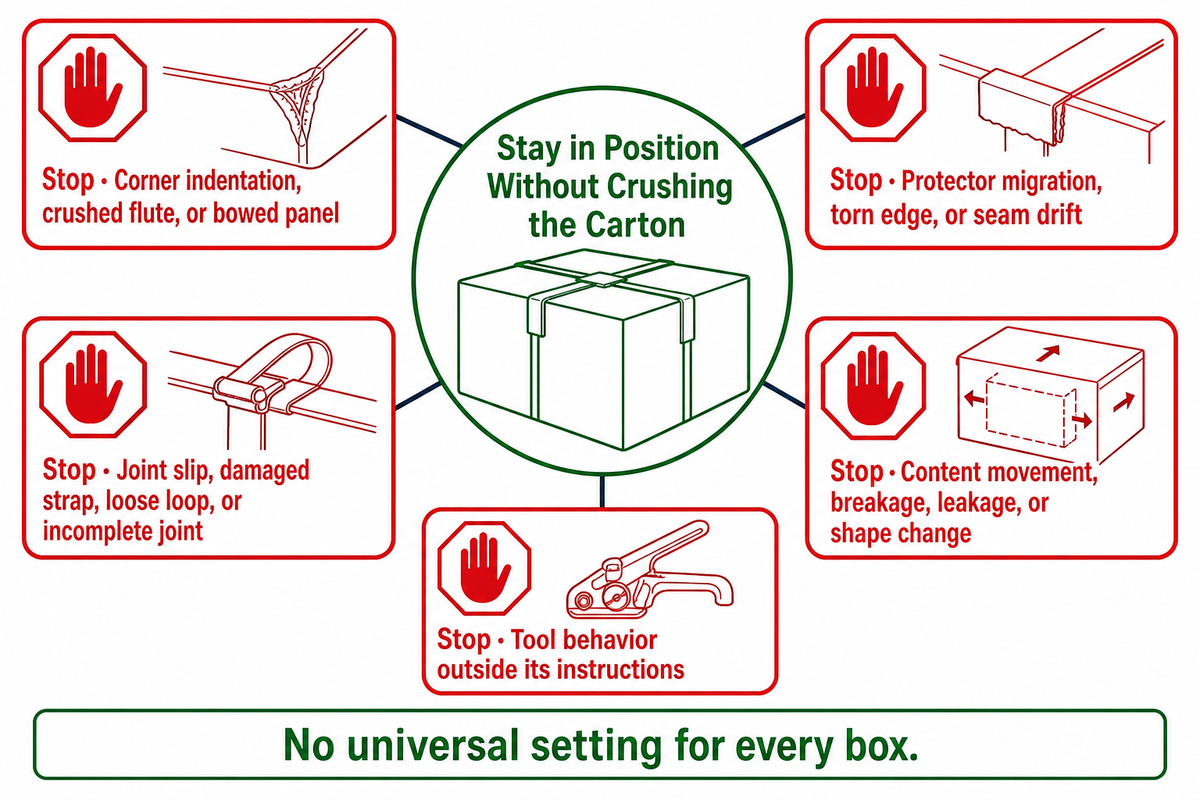
The strap should stay in its intended position and support the package objective without cutting, bowing, buckling, or crushing the carton. There is no evidence-supported universal setting for every box. Effective tension depends on the board, contents, strap, joint, tool, edge protection, storage, and route.
“Pull until it feels tight” is not a repeatable control. Two operators can apply different loads, and a powered tool can reproduce the wrong setting just as consistently as the right one. Define acceptance through the finished package: stable placement, intact corners, an acceptable joint, no content damage, and any route- or product-specific trial result.
Stop signs during tensioning
- Corner indentation, crushed flute, or a newly bowed panel
- Protector migration, torn edge, or strap sliding toward a weak seam
- Joint slip, damaged strap, a loose loop, or an incomplete joint
- Content movement, breakage, leakage, or a change in package shape
- Any tool behavior outside its operating or safety instructions
Treat over-tension as both a package defect and a stored-energy hazard. OSHA specifically identifies worker strike exposure when over-tensioned packaging banding fails; that source does not prescribe the full cutting or removal method. For those operations, follow the exact strap and tool instructions, control the band, and rework or repack instead of adding tension. When release depends on performance, test a representative package and record the complete configuration and acceptance criteria.
Use One Strap, Two Straps, or Cross-Strapping?
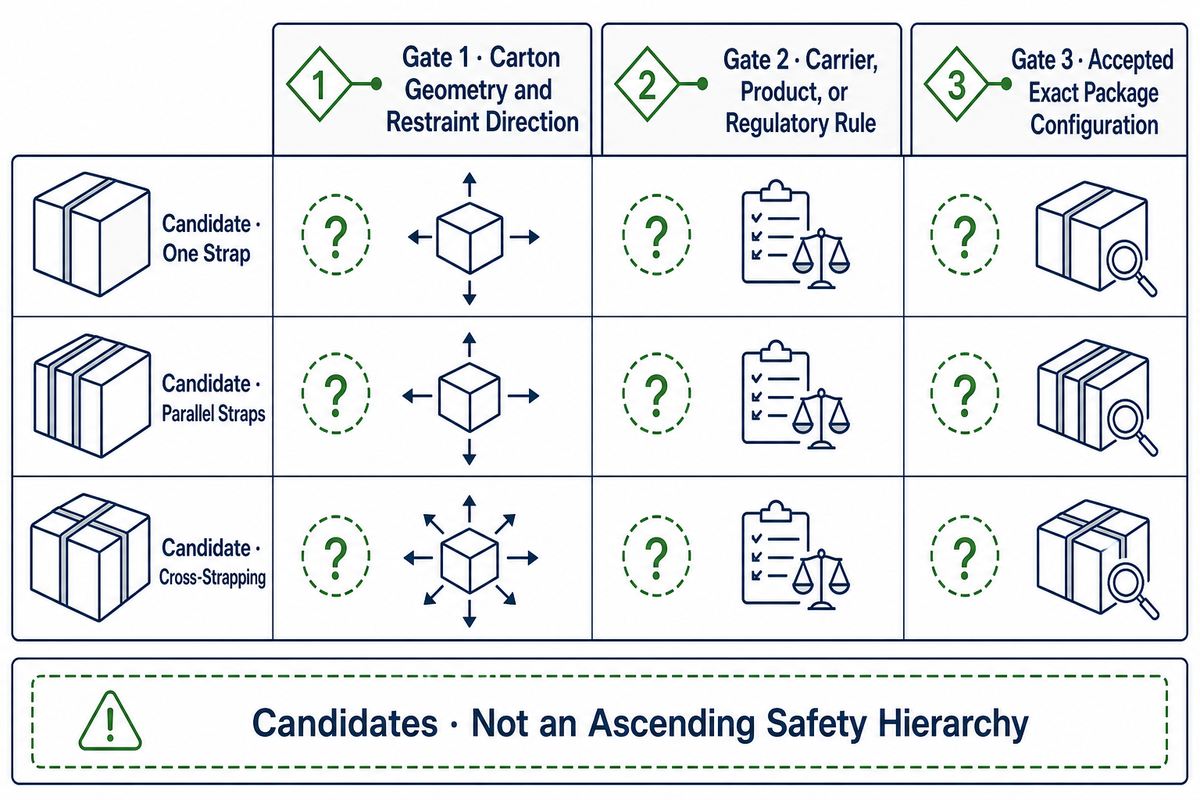
Choose placement through three gates: the carton geometry and intended restraint direction; the selected carrier, product, or regulatory rule; and the exact package configuration that was tested or otherwise accepted. One strap, parallel straps, and cross-strapping are candidates, not an ascending safety hierarchy.
| Candidate | Geometry question | Rule question | Release question |
|---|---|---|---|
| Single direction | Does one band control the intended axis without migration? | Does the selected route permit it? | Did the exact package meet its criteria? |
| Parallel | Can spacing avoid weak panels and share the objective? | Is a count or spacing rule actually applicable? | Do both bands remain flat and clear? |
| Cross direction | Does the package need restraint in both axes? | Do carrier or tested-design instructions require it? | Are intersections, edges, labels, and joints acceptable? |
Do not assign strap count from dimensions or weight alone unless a named governing specification actually applies. A United States Department of Agriculture procurement document contains a dimension-based strap table, but that table belongs to its named institutional meat-purchase box regime. It is useful evidence that count rules can be specific; it is not a general parcel calculator.
Why published numbers do not transfer: The dated USDA regime uses length bands ending at 50.8 cm and 76.2 cm, specifies 6 mm nonmetallic strap or 13 mm reinforced tape, and contains a 22.9 cm width exception. Its fiberboard table uses range endpoints of 40 lb (18.1 kg), 65 lb (29.5 kg), 79 lb (35.8 kg), and 90 lb (40.8 kg). Current postal book provisions separately distinguish 5 lb, 10 lb, 25 lb, 50 lb, and 70 lb categories. ISTA’s selection chart routes North American parcel packages at or below 150 lb (70 kg) to Procedure 3A. Each number belongs to its named document and scope; none is a universal box-strapping setting.
Counter-evidence matters. In PHMSA Interpretation 13-0091, one tested UN 4G telescoping fiberboard configuration passed applicable qualification tests both with and without a girth band or tape. That result does not authorize readers to alter other regulated packages. It demonstrates why no universal minimum-band rule can be defended outside the exact governing design.
If a strap changes package shape, slides, crushes an edge, blocks a label, or conflicts with a closure, repack or change the restraint plan. For multiple cartons on a unit load, move to the separate procedure on how to strap a pallet; a palletized load introduces different stability and handling questions.
Plastic Strapping vs Tape vs Stretch Wrap
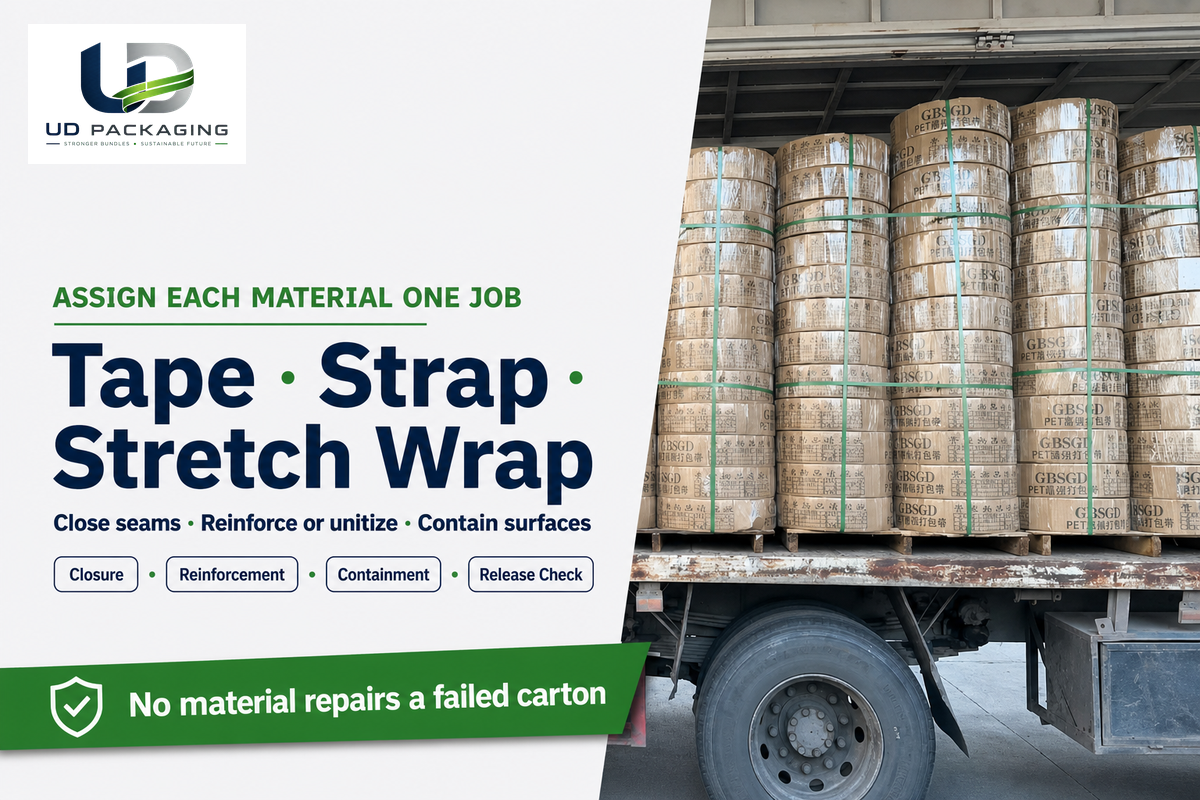
Compare packaging materials by job. Tape closes carton flaps. Plastic strapping can supplement reinforcement or unitization. Stretch wrap contains surfaces or grouped packages. They may work together when each has a declared function, but none turns a damaged or poorly packed carton into a sound shipping package.
| Material | Primary job | Common misuse | Release check |
|---|---|---|---|
| Shipping tape | Close seams and flaps | Using weak tape or skipping internal packing | Seams sealed for carton and route |
| Plastic strap | Supplement reinforcement or unitization | Over-tensioning or treating break strength as package capacity | Flat path, sound joint, no carton damage |
| Stretch wrap | Surface containment and grouping | Wrapping over a failed carton or obscuring labels | Containment retained and markings visible |
When materials are combined, state the job of each: tape closes flaps, edge protectors spread local pressure, qualified straps reinforce declared directions, and stretch film provides containment. A wet, torn, severely bulged, or weak carton needs replacement or redesign—not more layers outside.
Run the Four-Point Carton Release Sweep Before Release
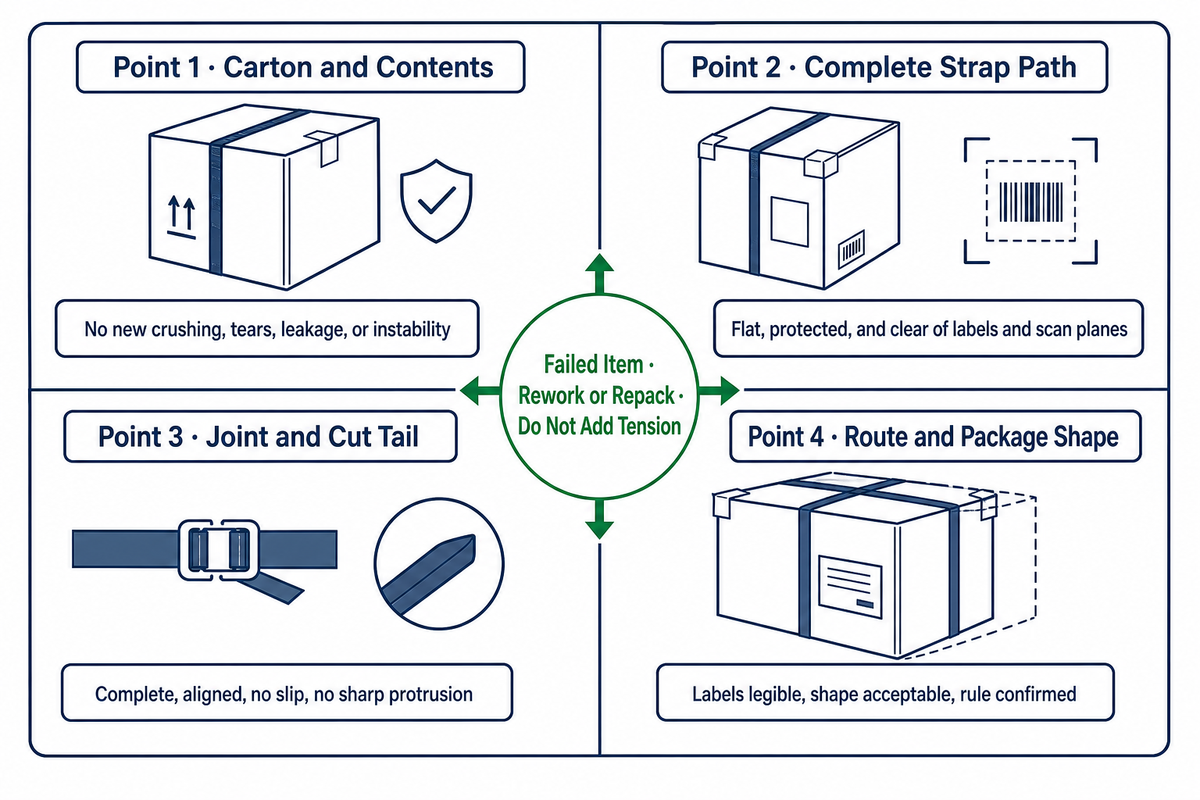
The Four-Point Carton Release Sweep is a four-part visual release screen: inspect the carton and contents, the complete strap path, the joint and cut tail, and the route-facing labels and package shape. A failed item leads to rework or repacking, not a compensating increase in tension.
- Carton: no new crushing, bowing, tears, moisture damage, leakage, or unstable contents.
- Strap path: flat, untwisted, correctly placed, edge-protected where needed, and clear of handles, address panels, and barcode scan planes.
- Joint and tail: matched method, visibly complete, no slip, no sharp protrusion, and no unsupported capacity inference.
- Route: labels legible, shape acceptable, applicable carrier rule confirmed, and required package evaluation satisfied.
Record enough information to reproduce the decision: package ID; carton condition; contents profile; gross mass if available; strap, joint, and tool; placement; visible deformation; joint condition; shipping route; disposition; and reviewer. A short record is more useful than “looks good” because it exposes what changed when a later package behaves differently.
This check is a shop-floor screen, not distribution simulation, certification, or a carrier guarantee. The International Safe Transit Association distinguishes screening and prediction testing from informal inspection and states that relevant test protocols should be repeated when the product, package, or process changes. Reevaluate after changes to contents, carton, cushioning, strap, joint, tool, placement, process, or distribution route when performance may be affected.
When to Use a Machine—or Stop and Repack
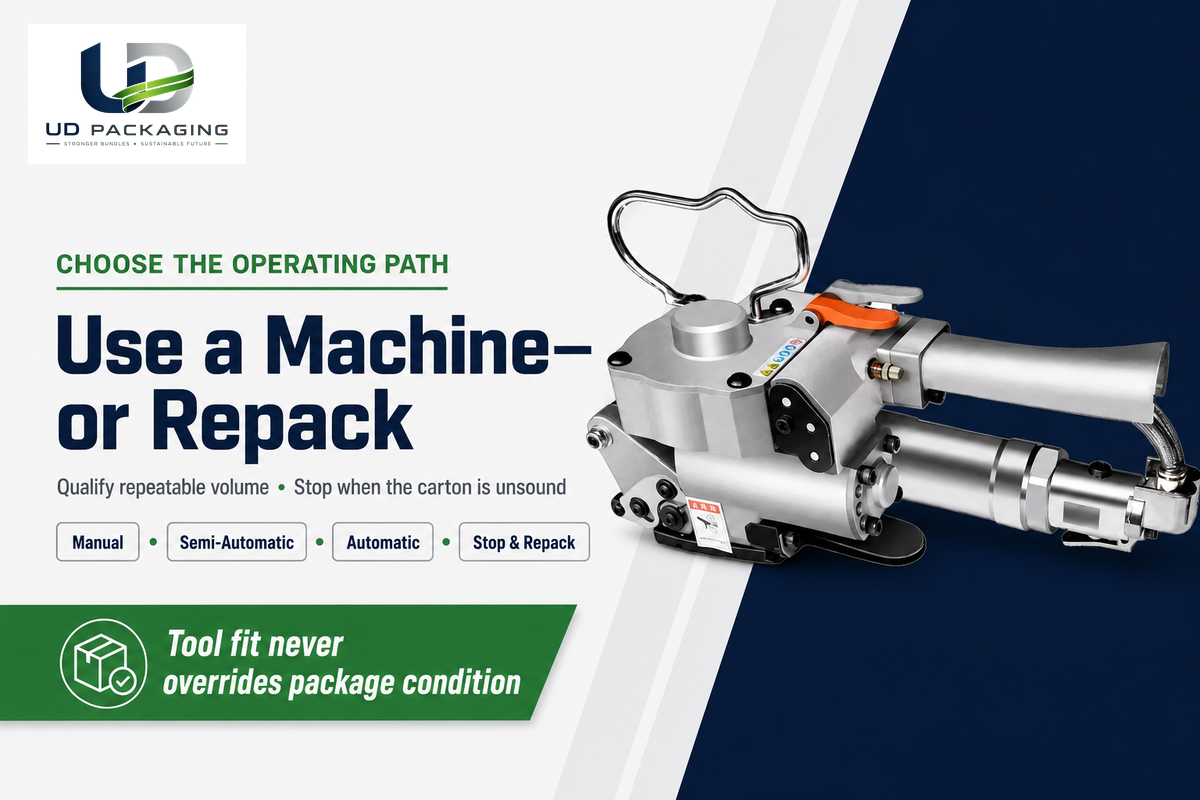
Use a semi-automatic or automatic machine when repeatable volume justifies it and the strap, joint, carton, settings, guarding, and acceptance checks have been qualified together. Stop and repack when the carton is wet, torn, leaking, severely bulged, structurally weak, or unable to support the proposed strap path.
Automation can improve consistency and throughput, but it also repeats any wrong setup. Define the package range, strap identity, joint method, tension window, placement, edge protection, detection logic, operator controls, maintenance plan, and reaction to a failed check. A new box size or strap roll should not inherit settings simply because it fits through the same arch.
| Package | Carton dimensions and board details, gross weight, contents behavior, weak edges |
| Route | Carrier or freight path, handling conditions, required labels and rules |
| Strapping system | Strap material and dimensions, joint, tool, placement, protector need |
| Production | Throughput, variants, observed failures, operator and maintenance needs |
| Acceptance | Trial package, visible criteria, performance evaluation, records, change control |
UD Packaging supplies PET strapping, industrial stretch film, buckles, and manual through fully automatic strapping equipment, and supports application-specific packaging selection. Those are the company and product boundaries provided for this article; they do not establish an unpublished minimum order, lead time, capacity, customer result, or universal performance value.
Bring the Complete Box-Strapping Brief
Share the carton, contents, shipping route, strap path, joint, tool, throughput, edge condition, and trial acceptance rule. UD Packaging can help map those inputs to an appropriate strapping solution.
Frequently Asked Questions
How to use strapping clips?
Answer
Use the threading pattern specified for the exact buckle or clip, strap material, and strap width. Keep the band flat, feed it through the closure in the documented direction, apply tension with the compatible method, and inspect the joint for slip or deformation. Clip paths differ, so a generic sketch must never replace the closure maker’s instructions or a representative-package trial.
What is a box strap?
Answer
A box strap is a band placed around a closed carton to help reinforce or unitize the package during handling and transport. It may be polypropylene, PET, or another qualified material and can use a buckle, seal, or tool-formed joint. It isn’t box-sealing tape, an internal cargo tie, an ordinary carry handle, or the same procedure used for a palletized load.
How to reinforce a box for shipping?
Answer
Start with a sound corrugated box that fits the contents, add appropriate cushioning or void fill, and close the flaps for the shipping route. Add edge protection and a compatible strap only if the carton can accept band tension without crushing. If the box is wet, torn, leaking, bulging, or underspecified, replace or repack it instead of tightening another strap around it.
How do you secure a box for shipping?
Answer
Stabilize the contents, seal the carton, confirm the route, and add compatible strapping only when needed. Protect edges, form the specified joint, and inspect before release.
Can I strap a cardboard box without a machine?
Answer
Yes, a compatible manual tensioner and sealer or a specified buckle system can be used for suitable cartons. The strap dimensions, buckle or seal, and tool must match. Follow the product instructions, control stored energy, and validate the finished package rather than relying on hand feel.
Can plastic strapping replace packing tape?
Answer
Not as a general rule. Packing tape normally closes carton seams and flaps, while plastic strapping may supplement reinforcement or unitization. A named carrier, product specification, or tested design can require a particular combination. Prepare and stabilize the carton first, follow the exact route-specific closure rule, keep labels and barcode scan planes clear, and then verify that the finished strap path, joint, tension, and package shape meet the declared release criteria.
Final Release Principle
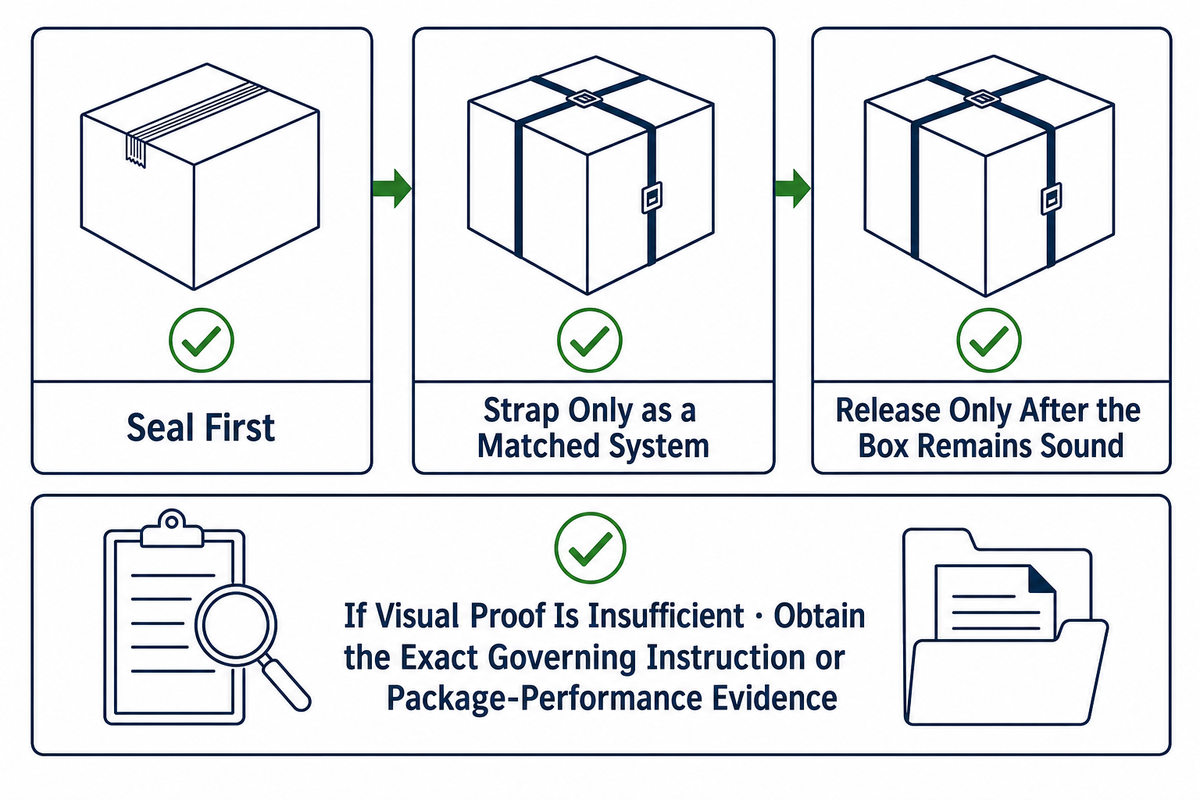
Seal first, strap only as a matched system, and release only after the box remains sound. If the package, route, regulation, or tested design requires more than this visual procedure can prove, stop and obtain the exact governing instruction or package-performance evidence.
Match the Strap, Joint, and Tool
Send UD Packaging the carton dimensions, contents behavior, route, preferred strap path, throughput, and acceptance method for a practical system review.
References & Sources
- United States Postal Service, Domestic Mail Manual 601: Mailability and packaging
- ASTM D3950-23, Standard Specification for Strapping, Nonmetallic (and Joining Methods)
- ASTM D4675-14a(2022), Standard Guide for Selection and Use of Flat Strapping Materials
- United States Occupational Safety and Health Administration, Manufacturing Hazard Identification Training Tool
- International Safe Transit Association, Getting Started with Design and Testing
- United States Pipeline and Hazardous Materials Safety Administration, Interpretation 12-0081
- United States Pipeline and Hazardous Materials Safety Administration, Interpretation 13-0091
- United States Department of Agriculture, Institutional Meat Purchase Specifications General Requirements